Ampeg V4 Cab | Convert 4-pin Jack to 1/4”
In this video we have two vintage Ampeg V4 4x12 speaker cabinets. These cabinets come stock with a 4-pin connector that requires a stock cable to convert to a 1/4" plug for a normal speaker cable, or a custom adapter must be built.
The owner of these cabs is sick of having to lug around an extra cable, or deal with the possibility of forgetting that cable for a show and has asked to have both cabs converted to a standard 1/4" jack that will stand up to heavy gigging and touring.
The stock jack has a 4 Pin connector. In both cabinets i found that the left most pin was to the tip of the mono speaker plug, which in this case was the signal or "positive" side of the speakers. The two middle pins were connected to nothing, and the right-most pin when facing the jack was to the "negative" side of the speakers and the sleeve of the mono jack on the other end of the stock adapter cable.
For my solution, i found that an oversized washer, double nut, and some threadlock appears to be the most reliable way to handle this. Ideally there would be a recessed jack plate, and I initially thought that is what i would be able to have as a quick repair!
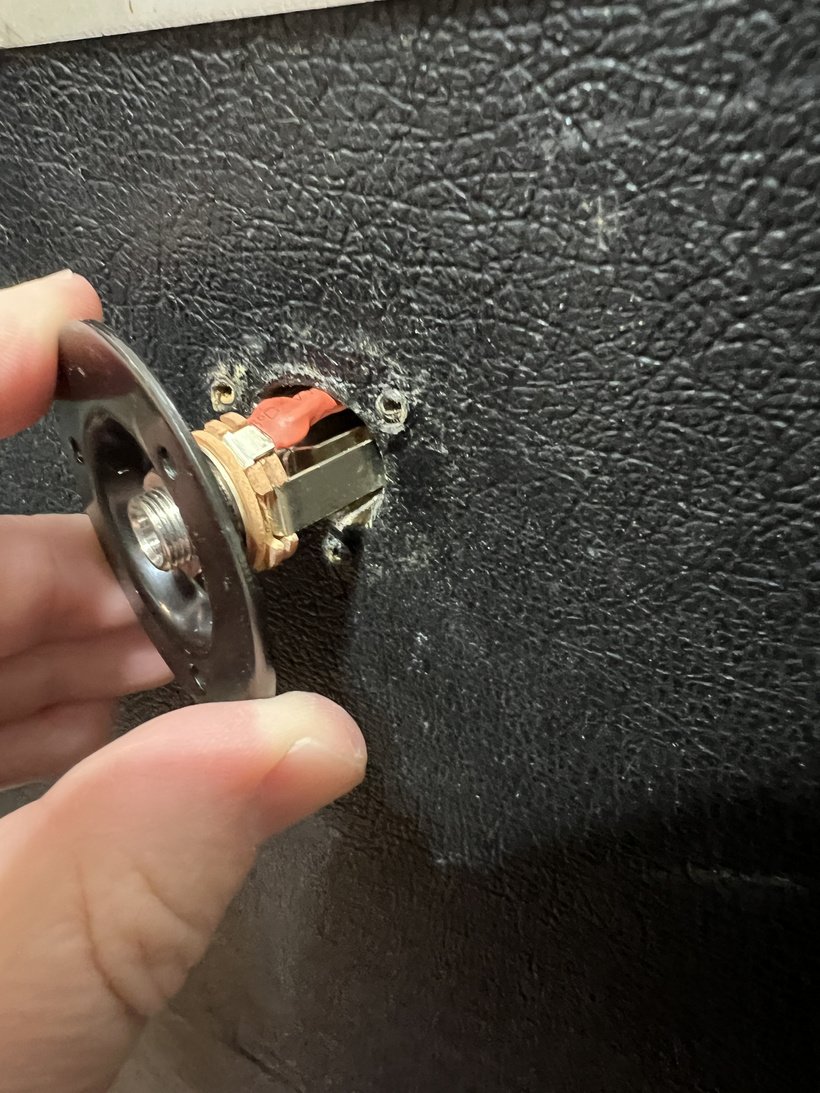
This is the jackplate that i bought from Flip Tops thinking it would drop right in. I quoted 30 minutes for doing TWO cabinets because i assumed that these were drop in replacements. But once i got to this point i found that the jack plate from Flip Tops requires a hole that is about twice as large. This would have taken a large stepper drill bit, as well as figuring out a way to drill the hole and recover the wires from the inside of the front loaded cab... removing a speaker would have done it but it still felt like there must be an easier solution than permanently modifying these cabinets with a whole that is about twice the diameter.
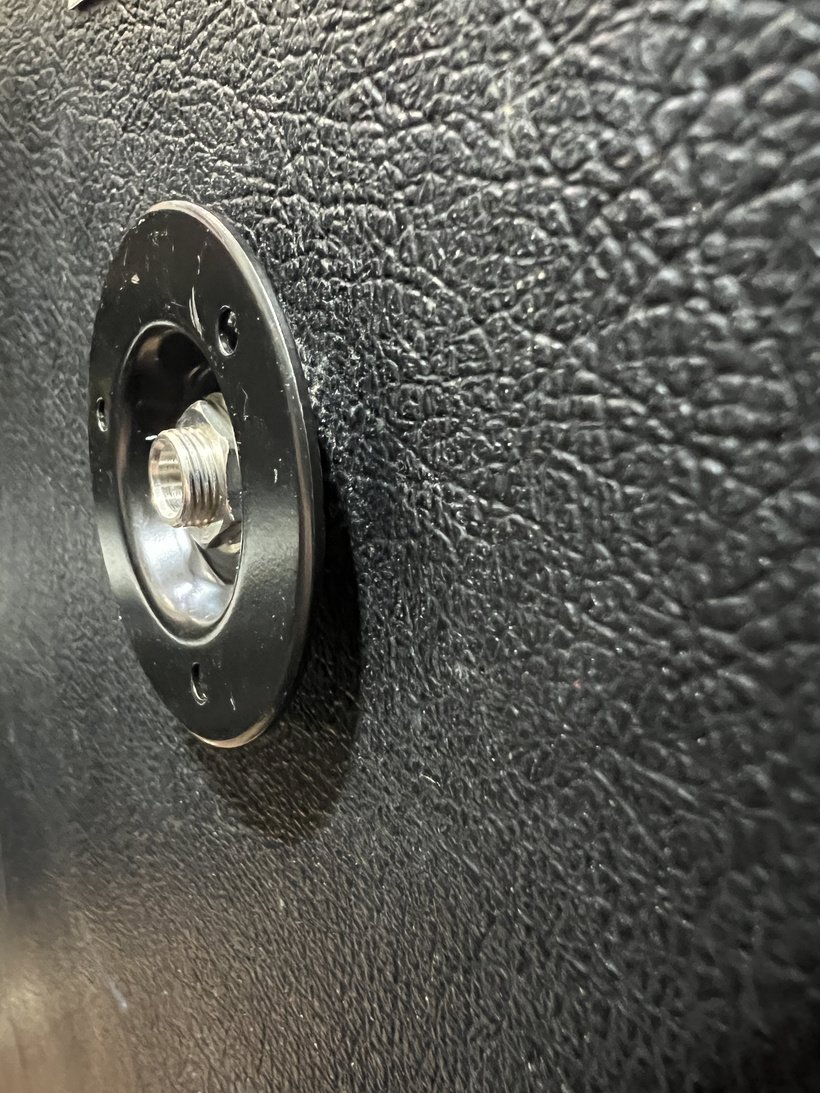
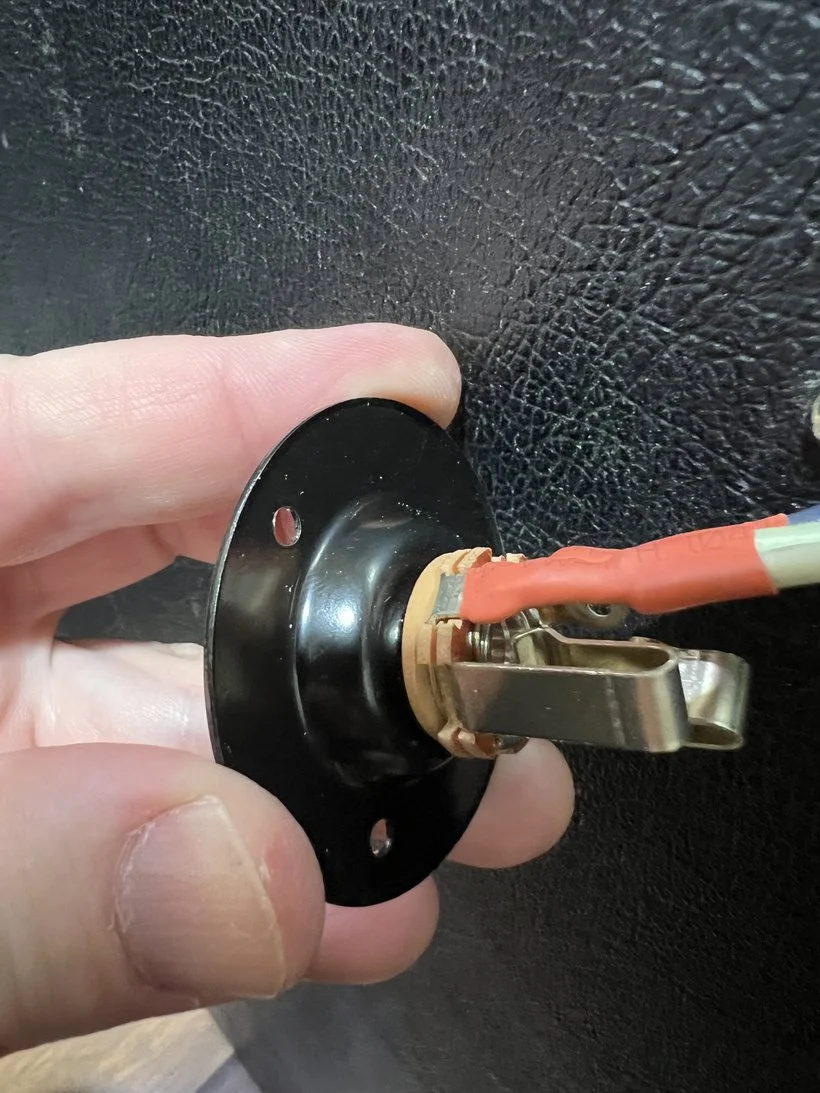
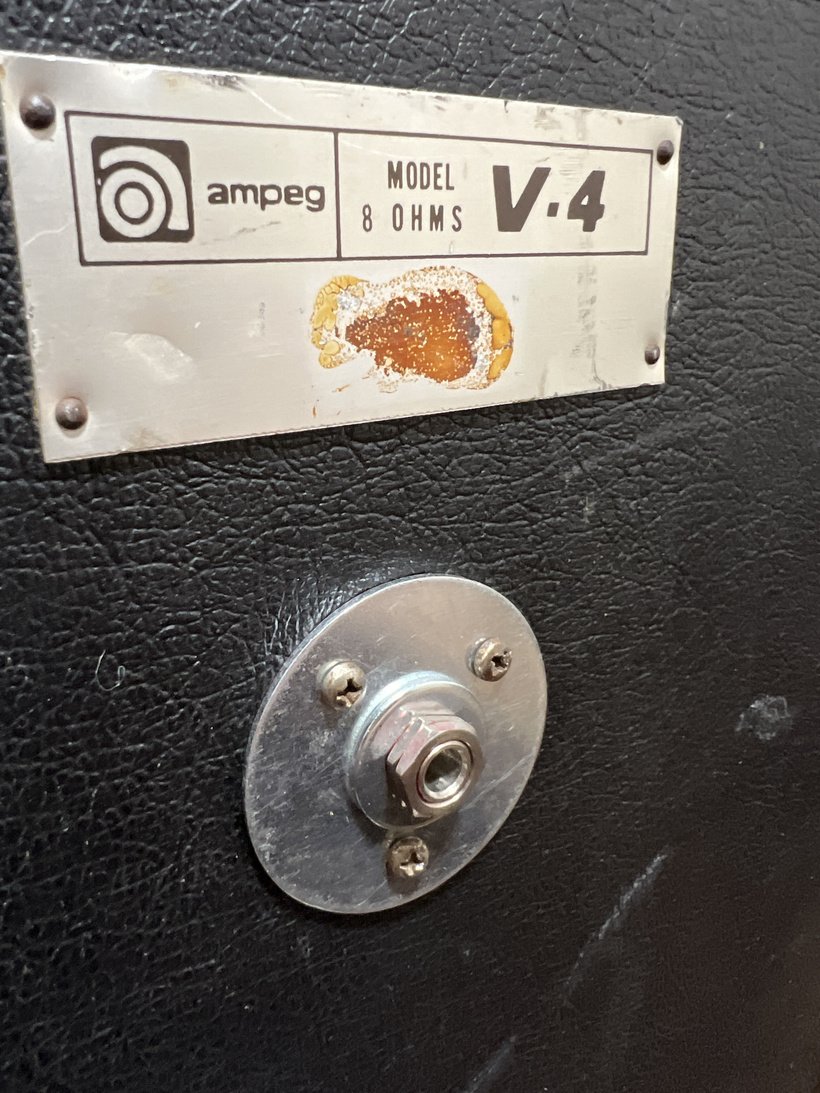
My solution was to grab some oversized washers from the hardware store (as seen in the first photo of this post), drill some holes for mounting, and go from there.